Prepare manga artwork for light animation
Clean manuscripts, separate panels, extend compositions, prepare production lines, and color from a reference—all in one connected workflow.
Discuss your workflow
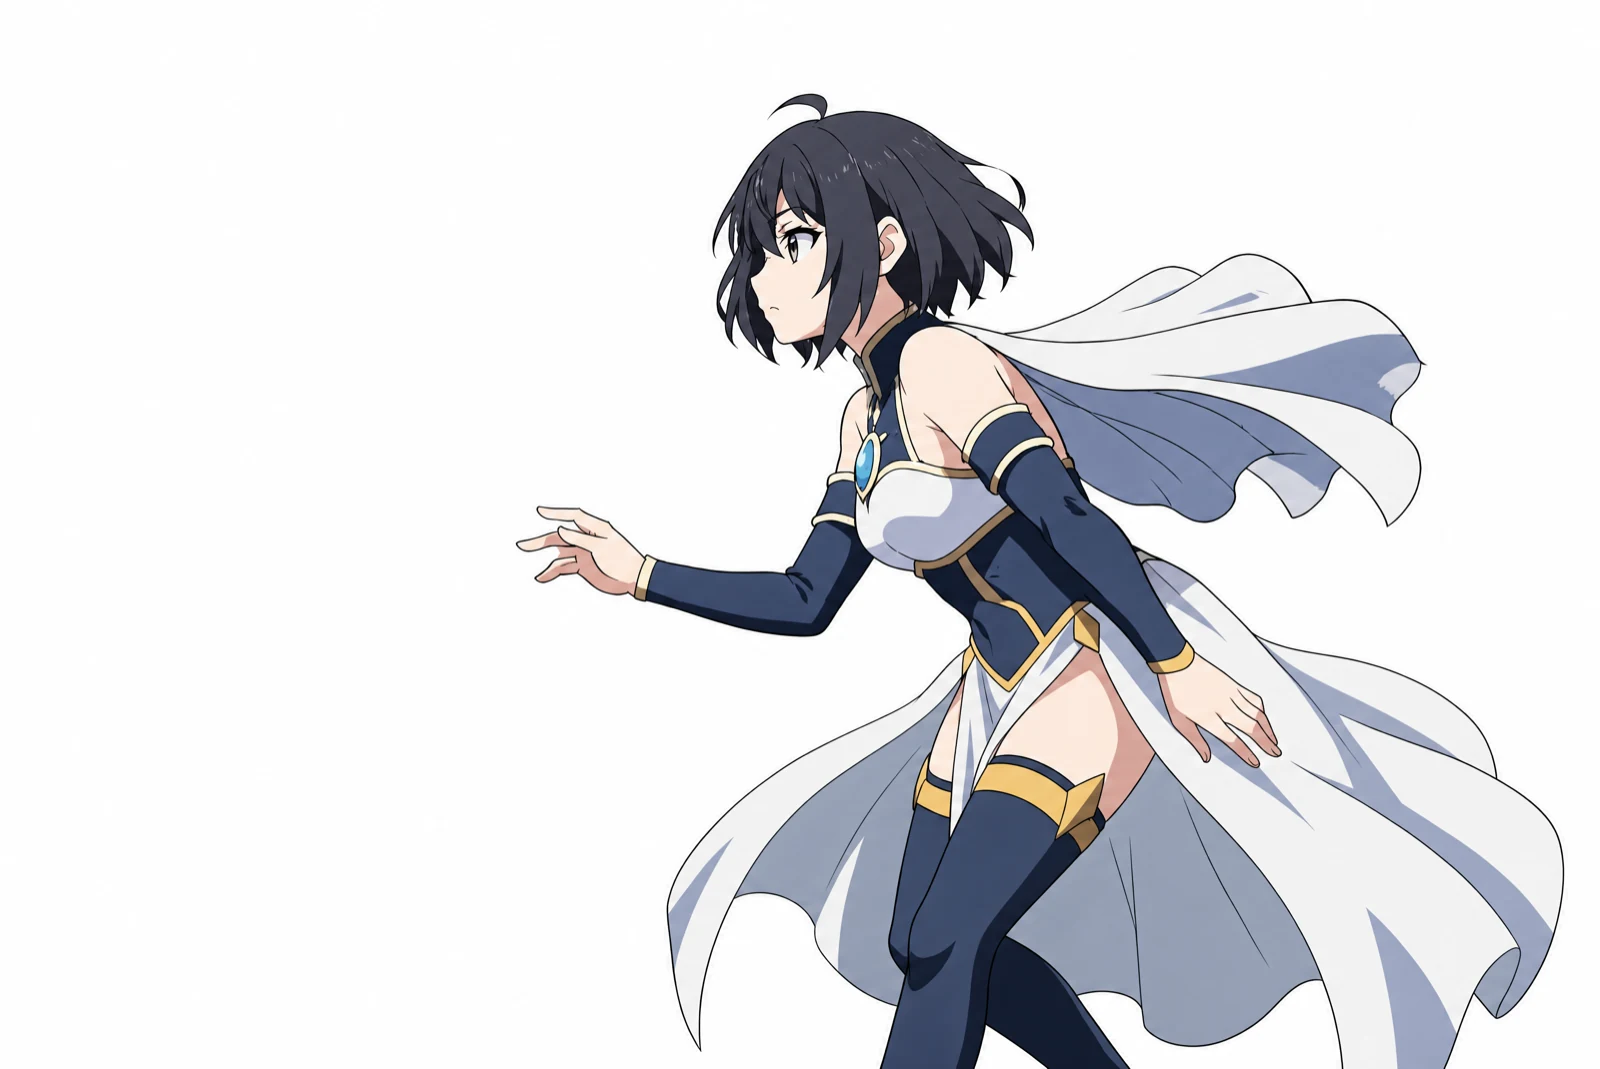
From manga pages to animation-ready artwork
Clean the manuscript
- Detect and remove speech bubbles automatically.
- Rebuild the artwork hidden behind each bubble.
- Process many pages in one batch.
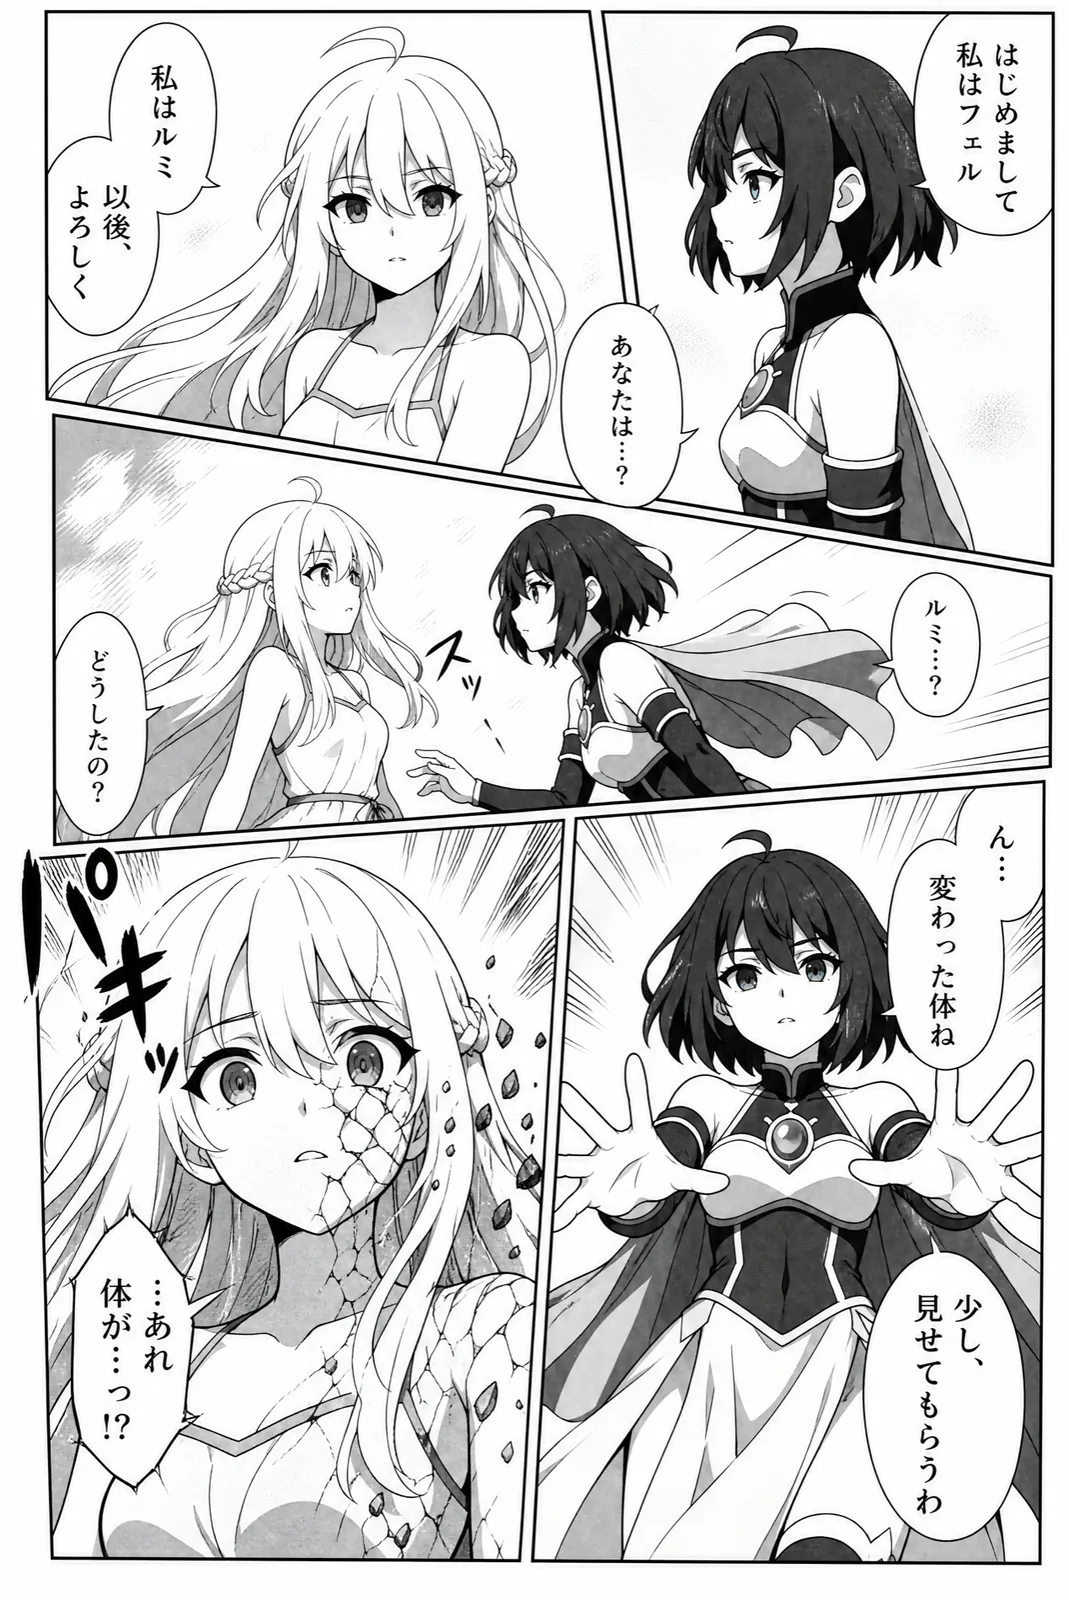
Before 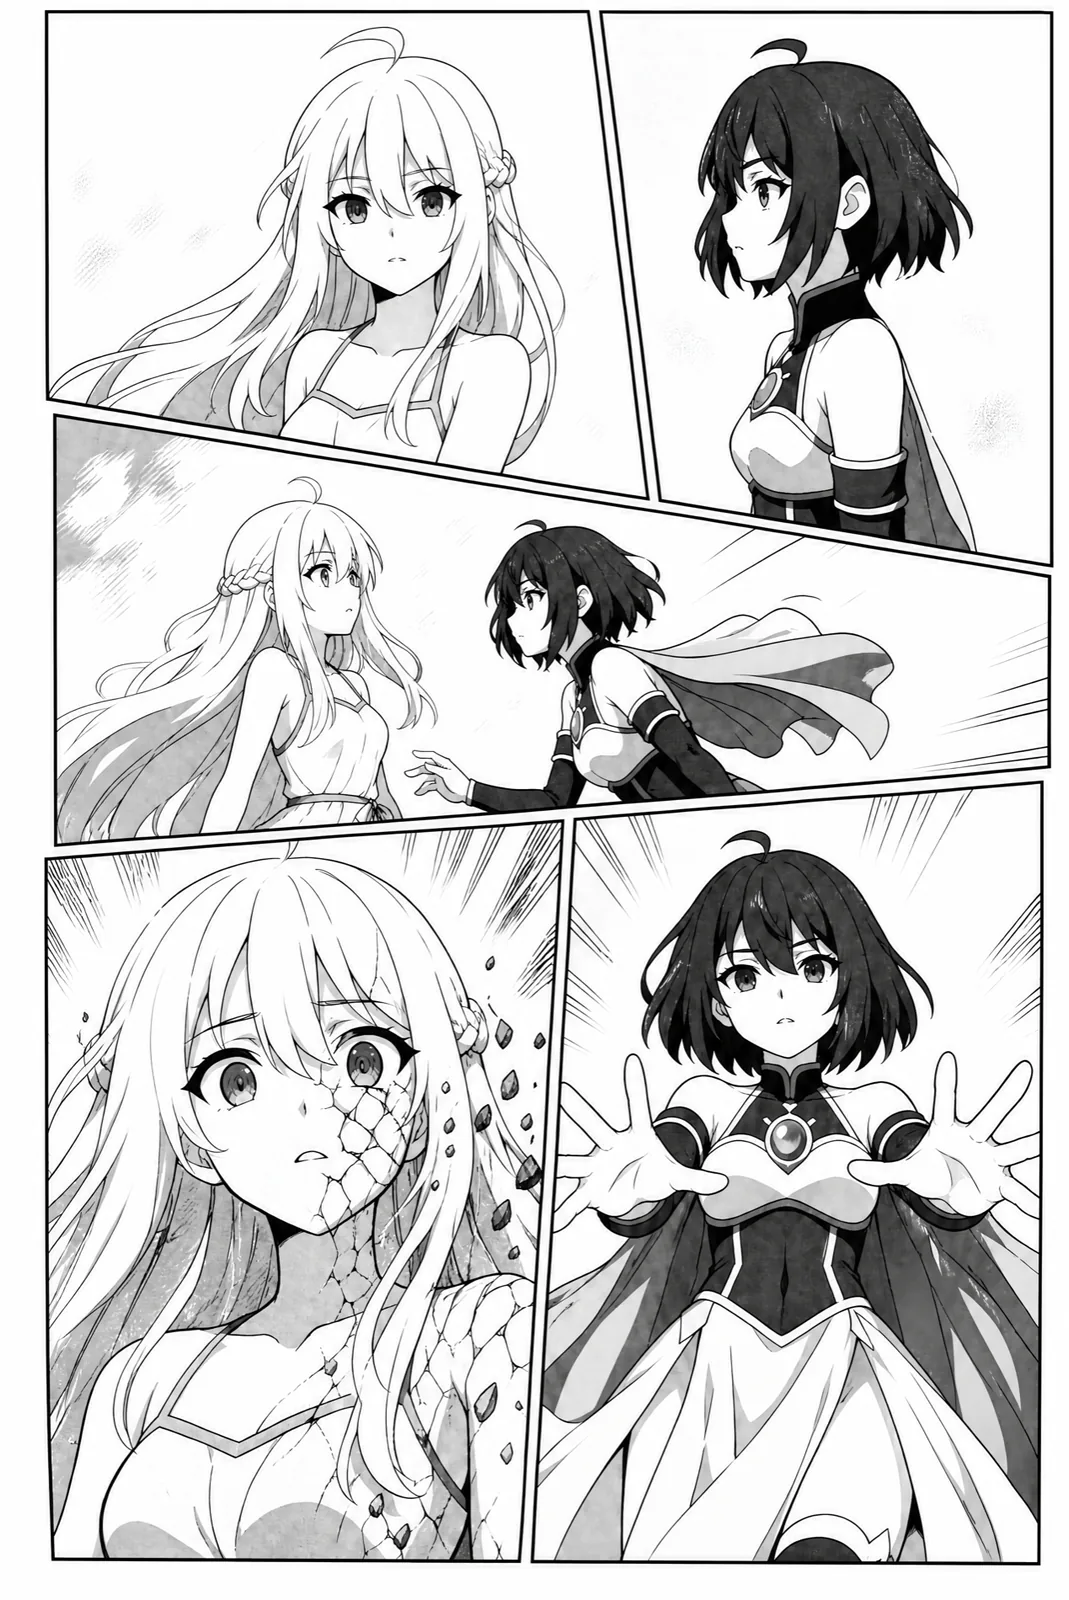
After Separate every panel
- Detect and crop every panel individually.
- Set each canvas’s aspect ratio and background.
- Export each panel as an editable PSD.
Input · Panel detection
panel_01panel_02panel_03panel_04panel_05Output · Individual panels (PSD)
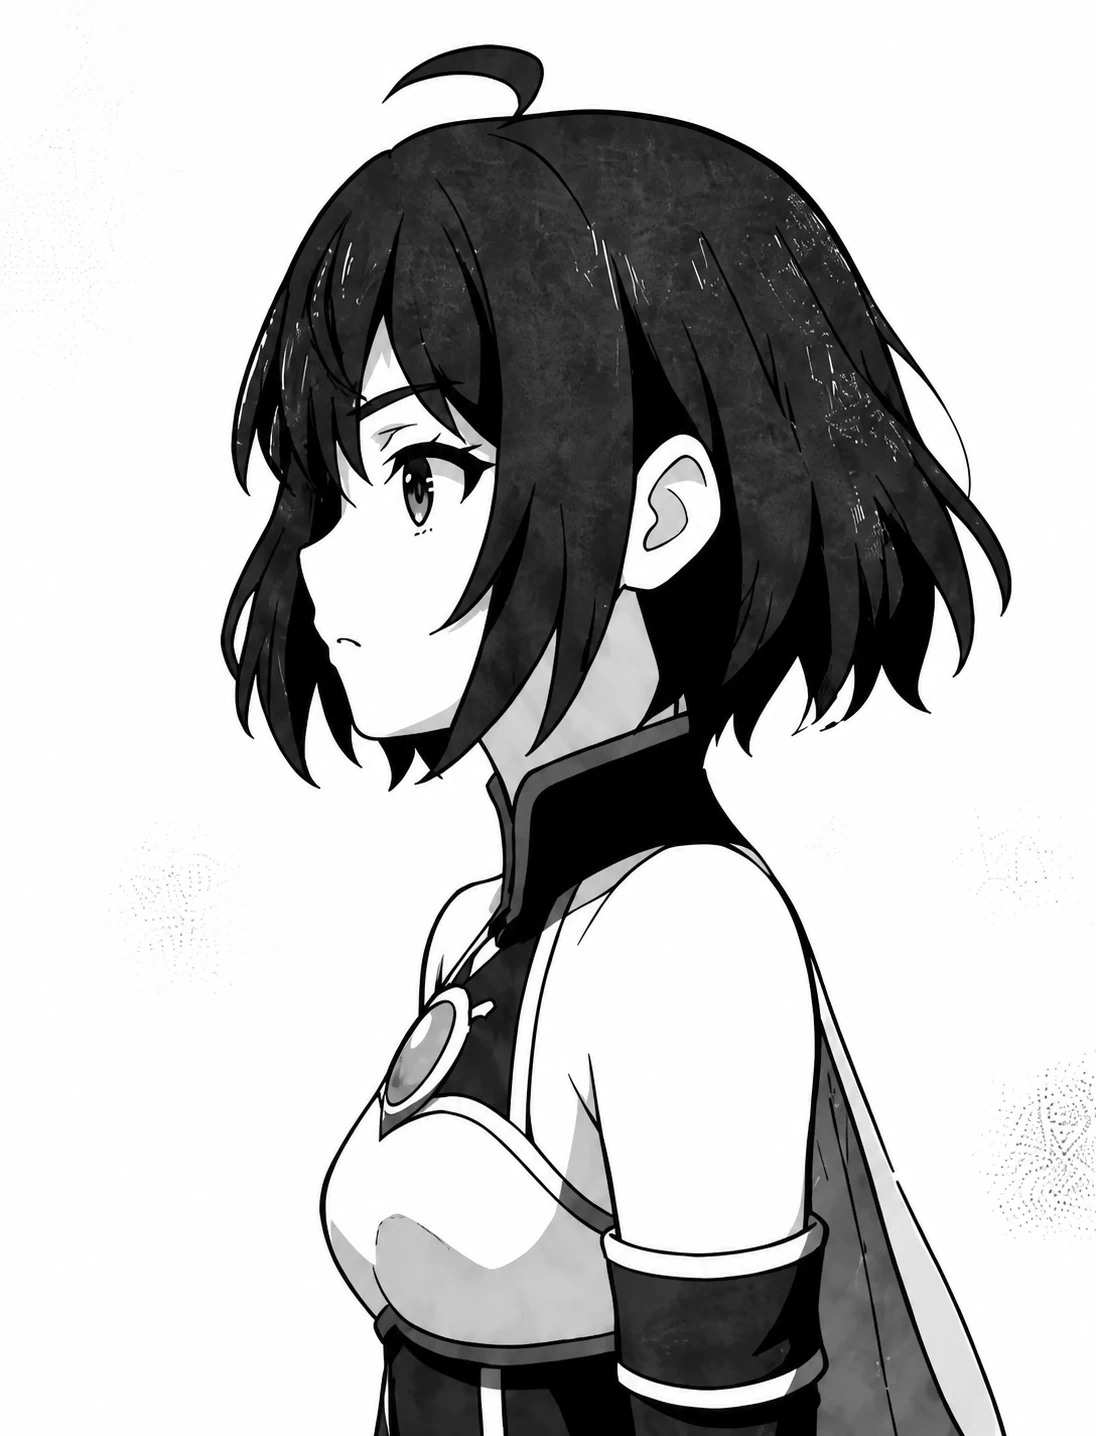
panel_01.psd 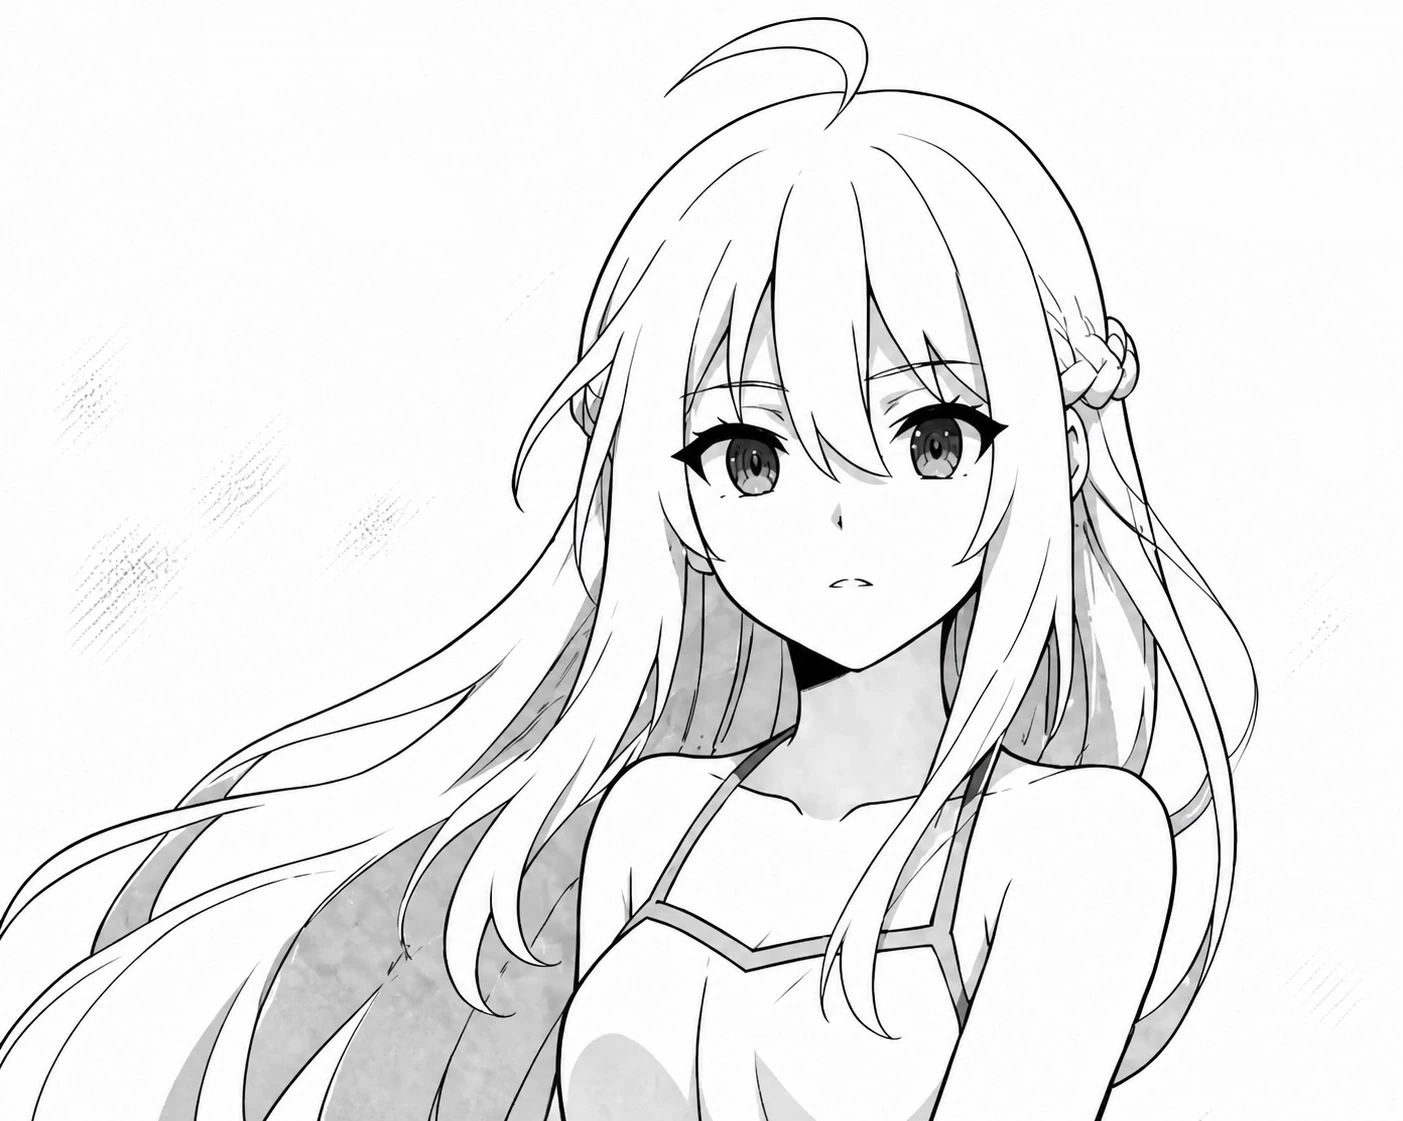
panel_02.psd 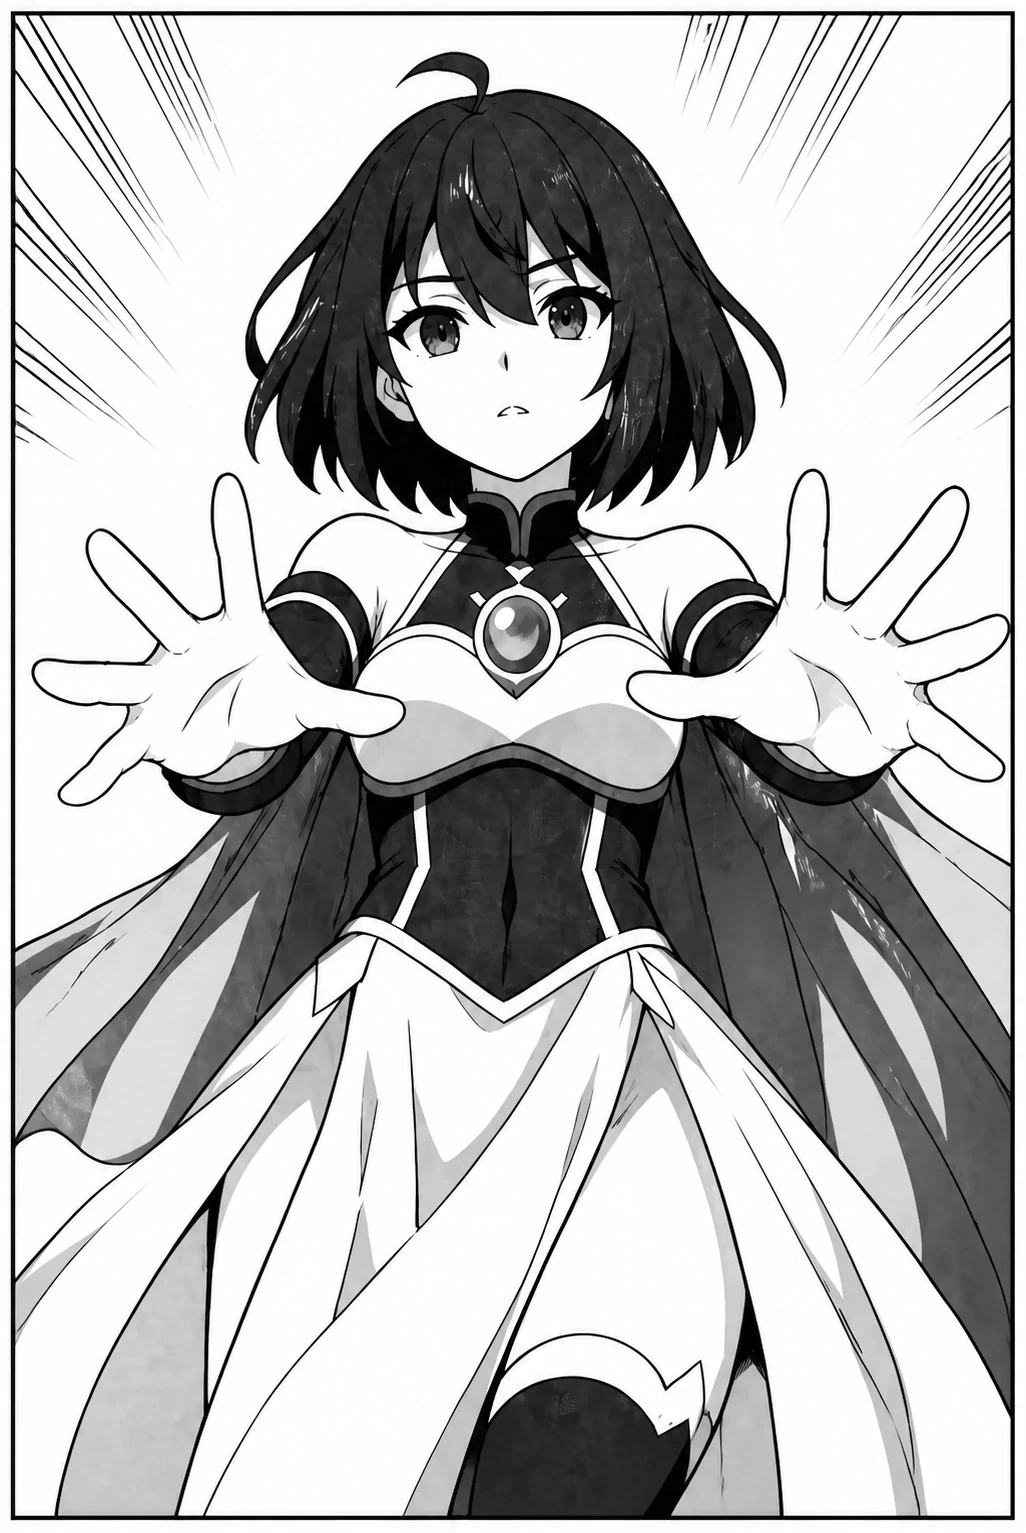
panel_04.psd 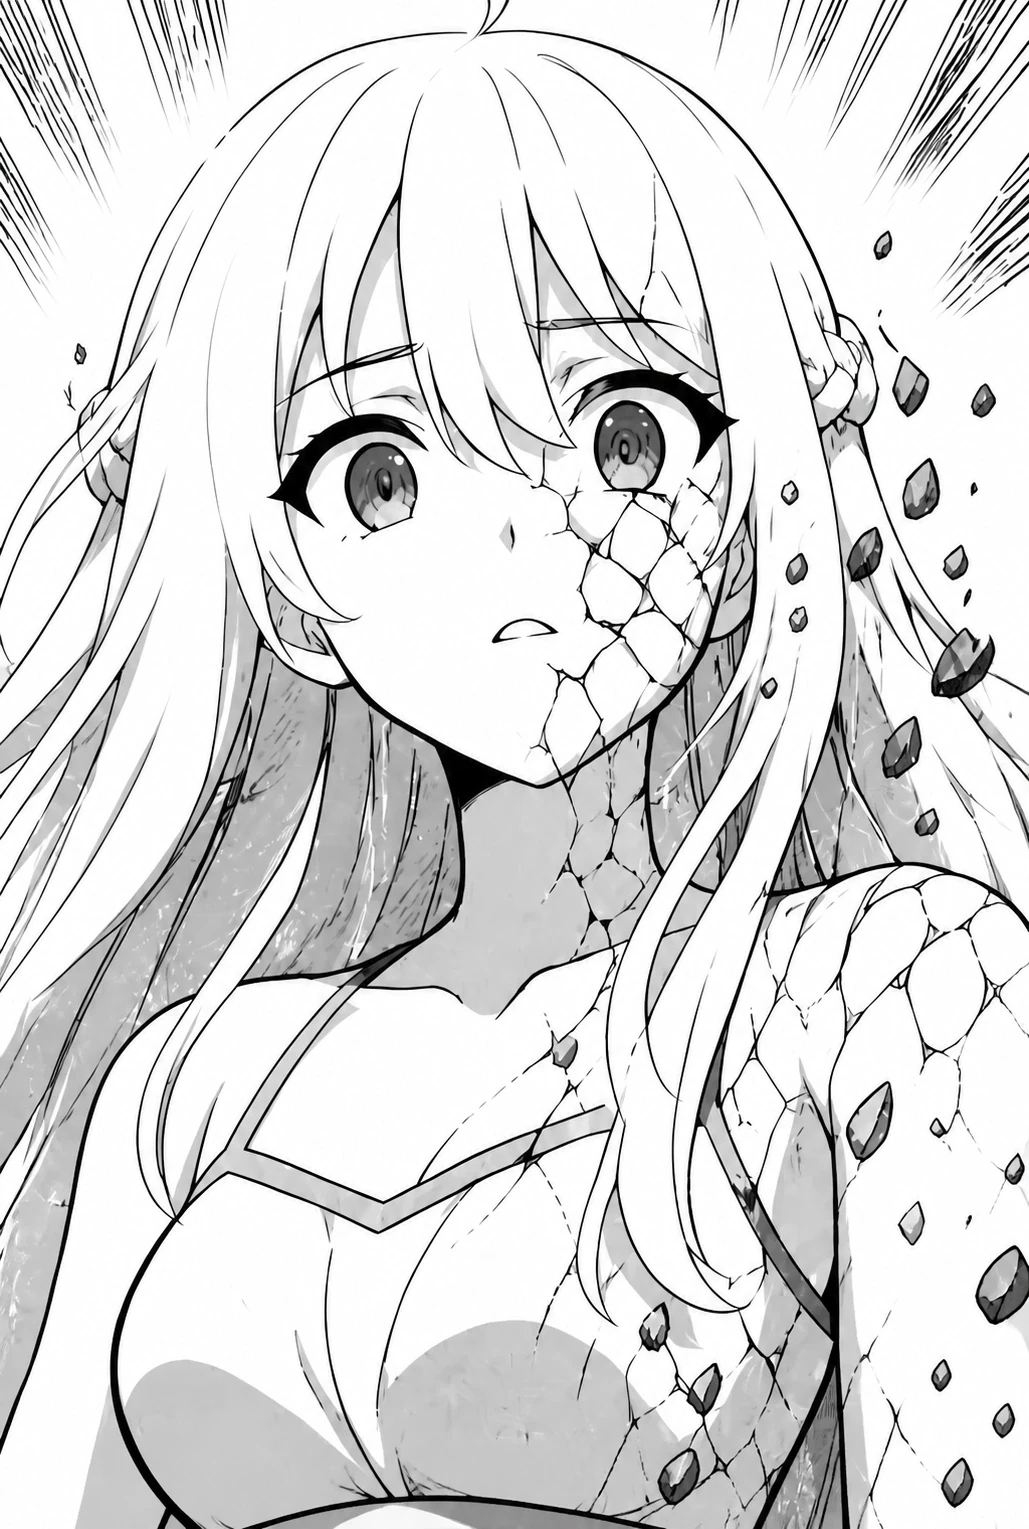
panel_05.psd 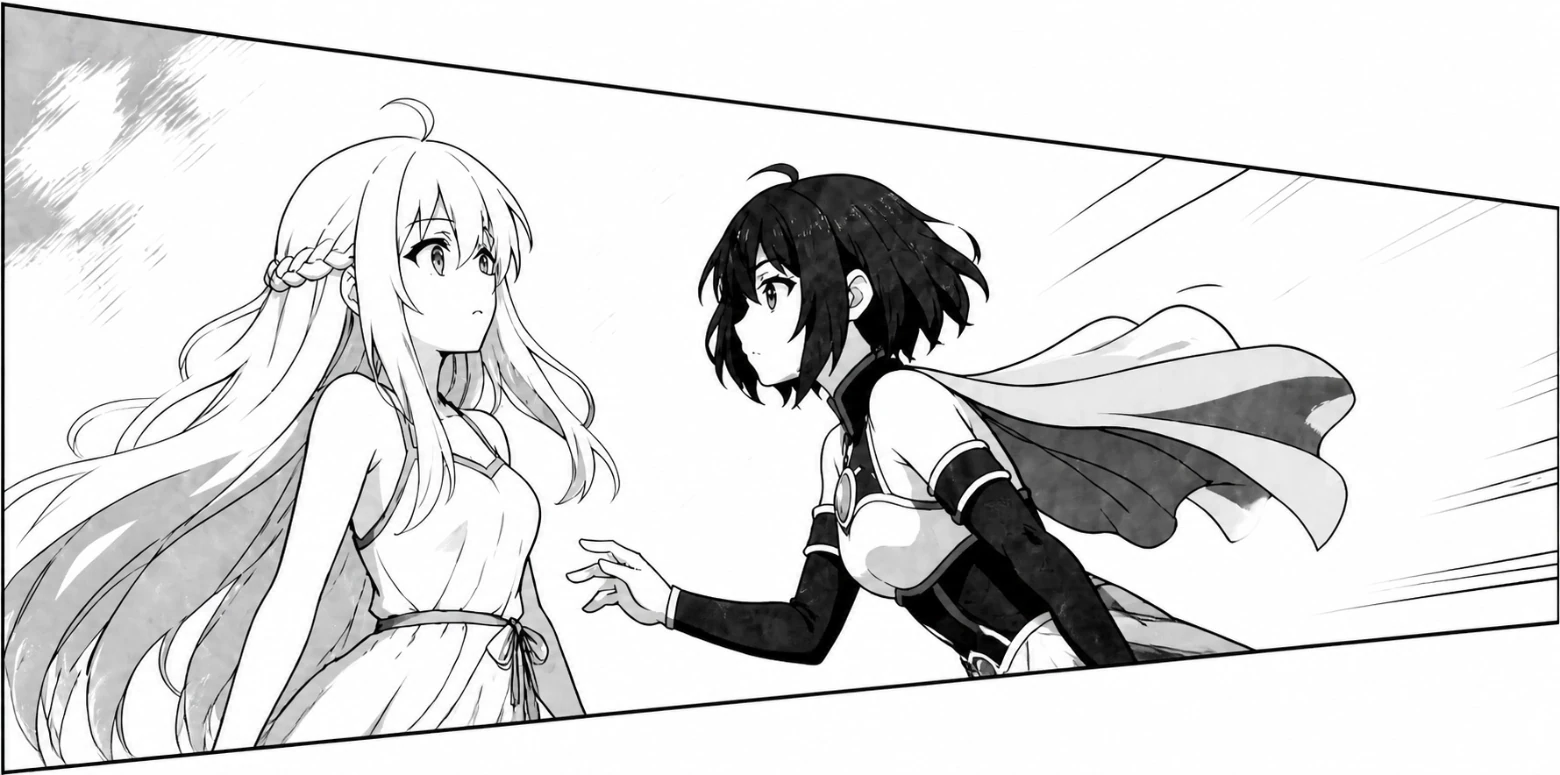
panel_03.psd Complete the composition
- Fill blank margins to extend the shot.
- Guide pose and framing with a rough sketch.
- Expand the canvas as far as needed.
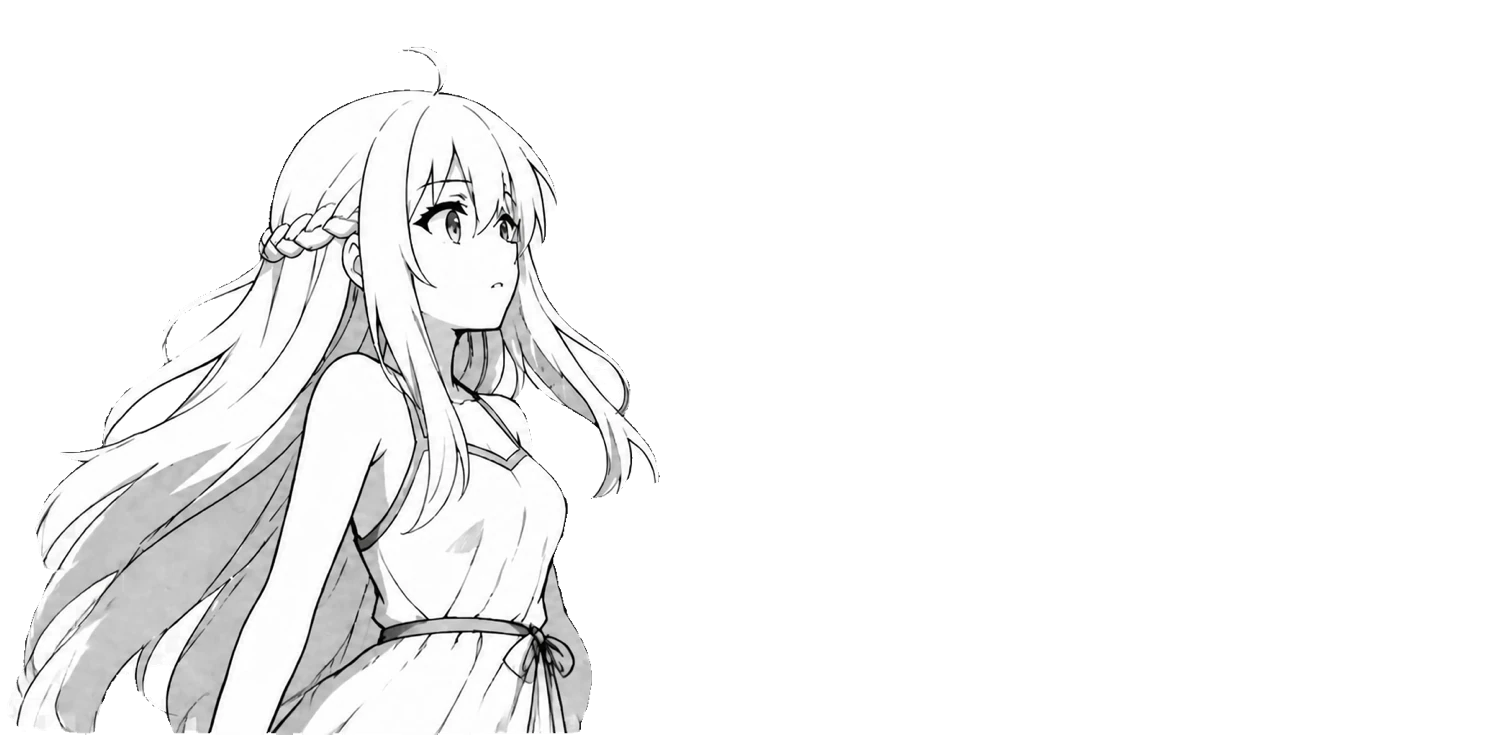
1 · Source panel 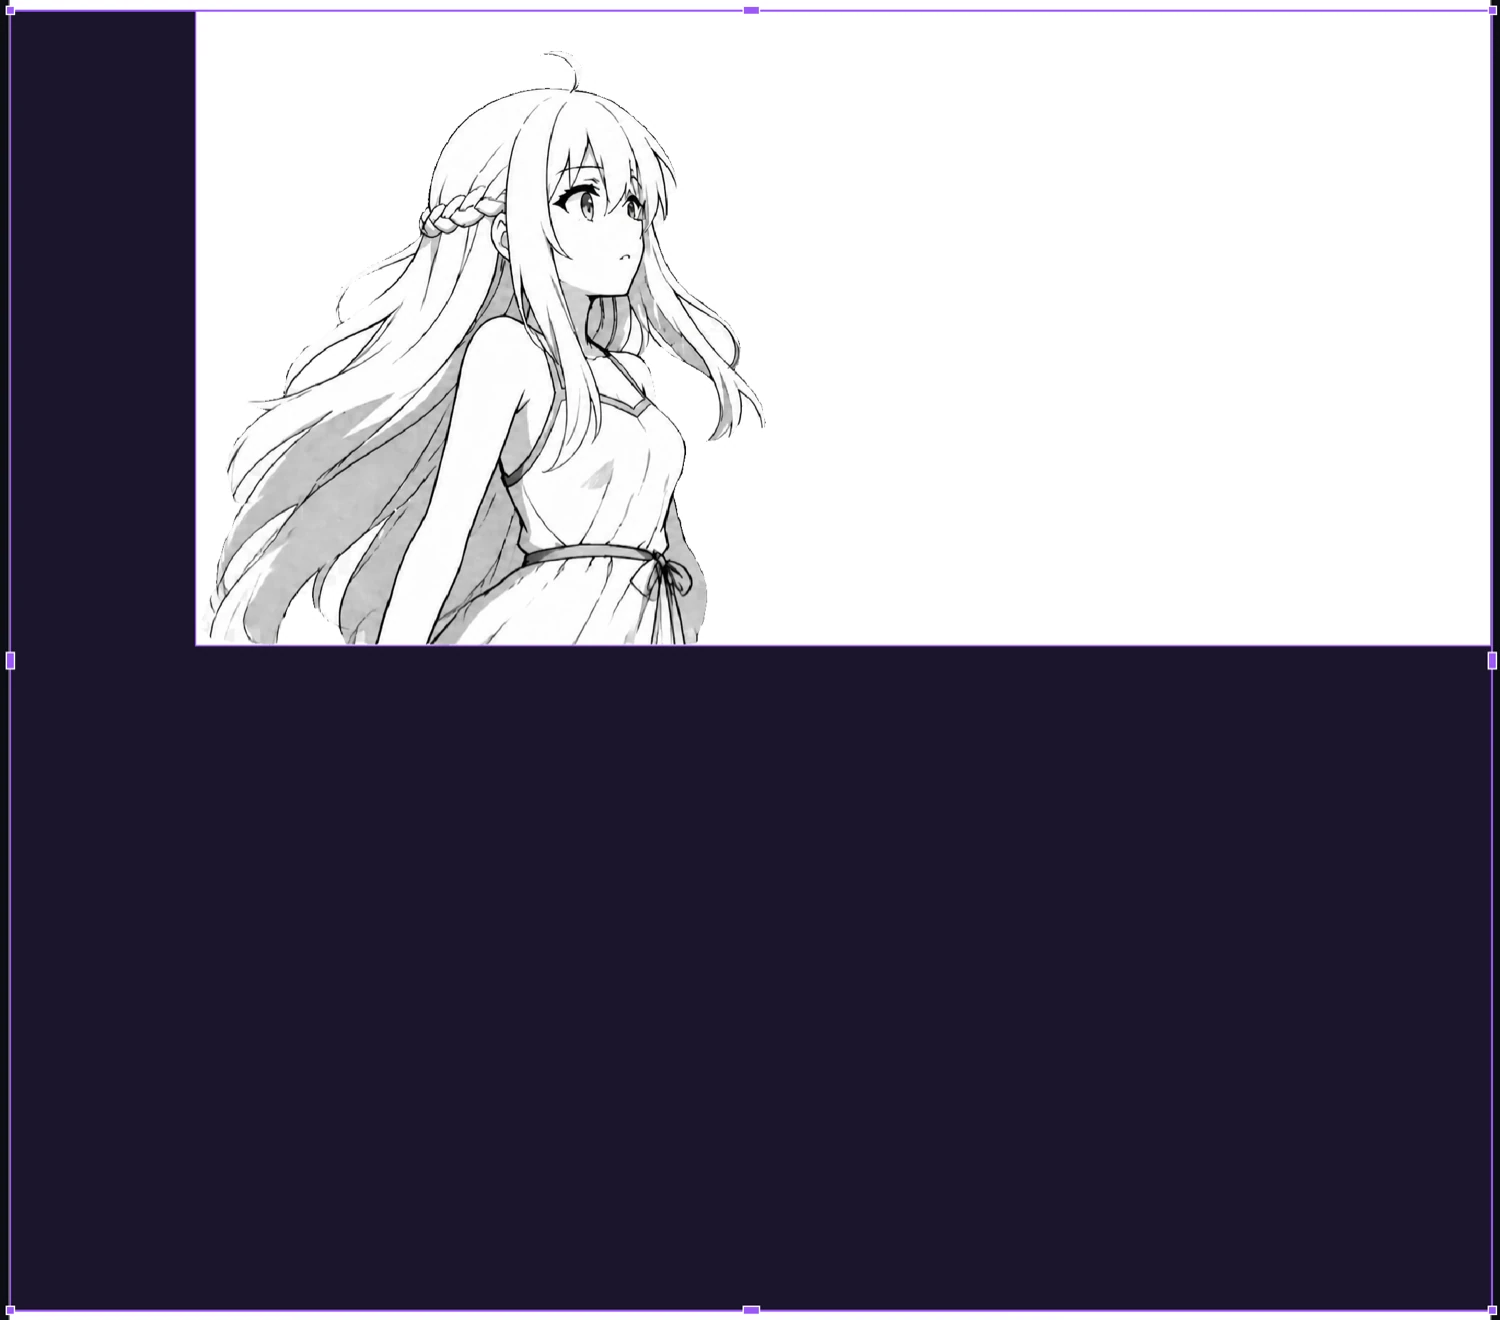
2 · Expand canvas 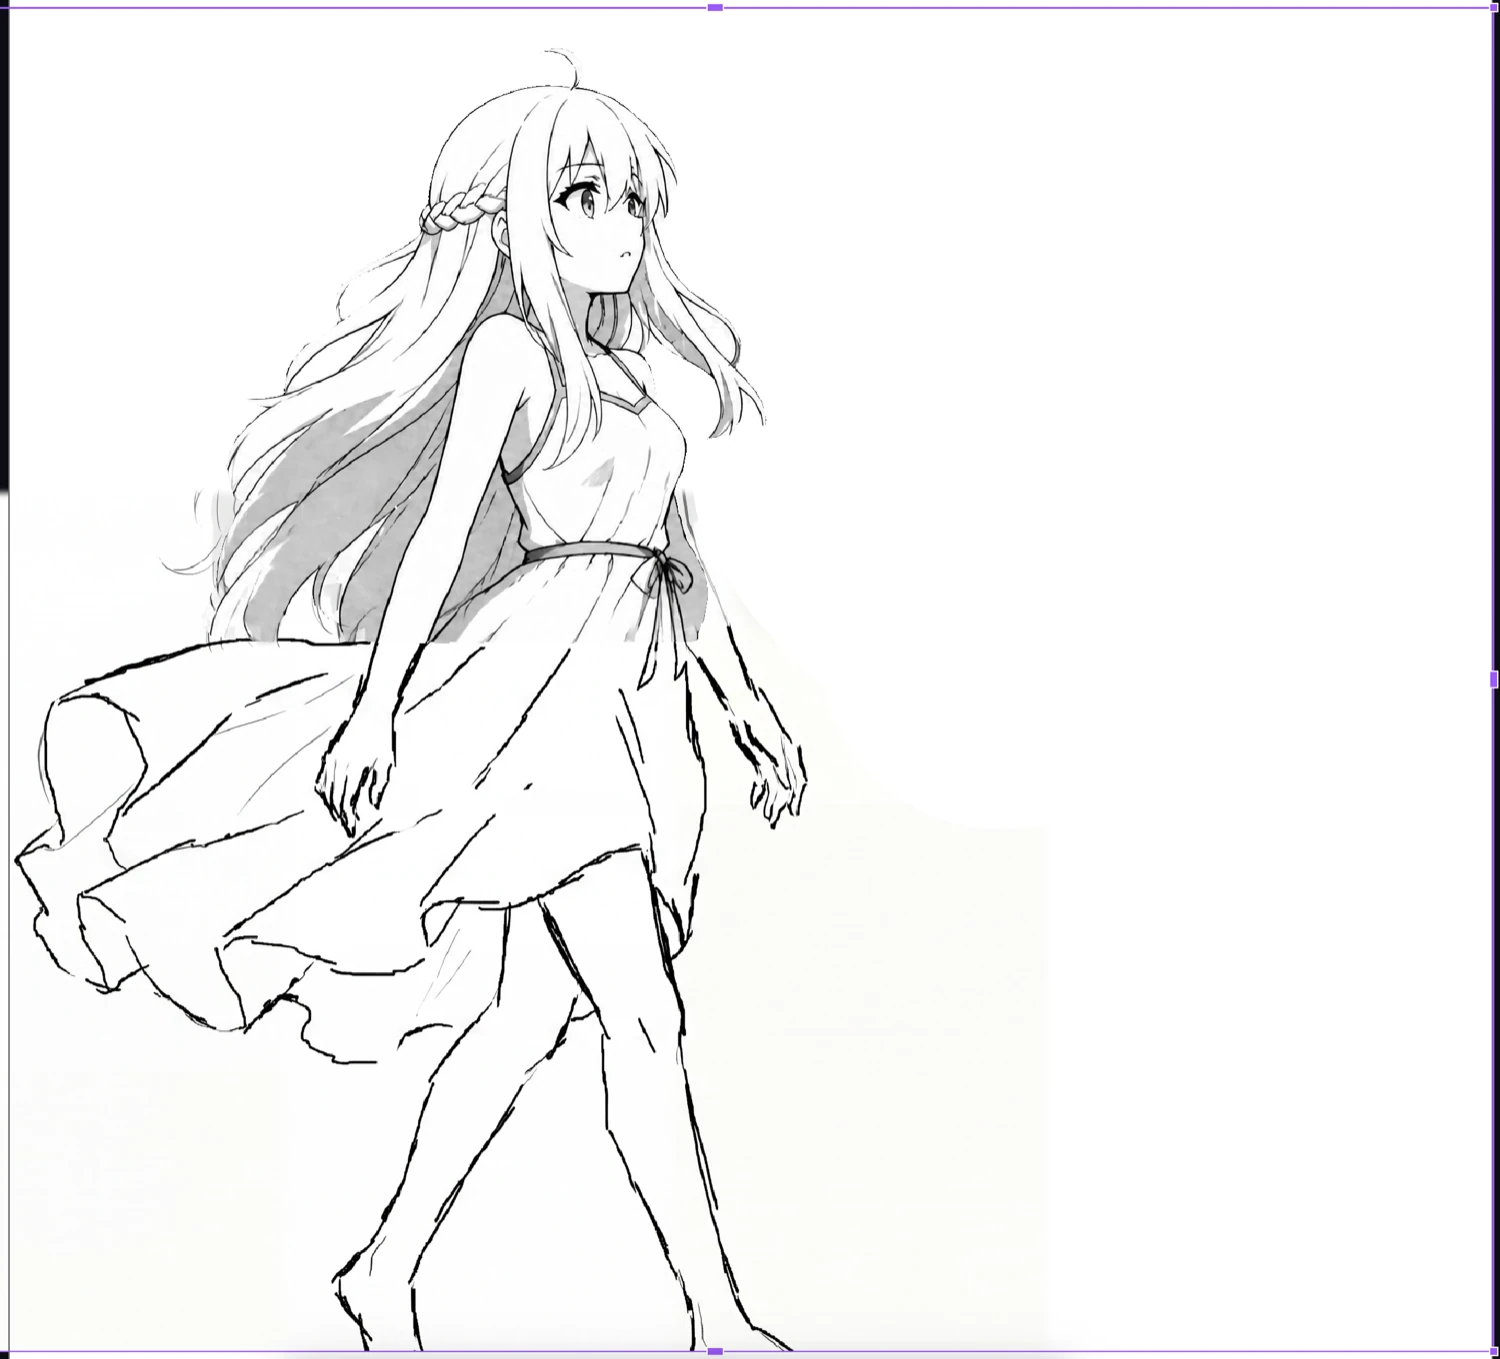
3 · Rough sketch 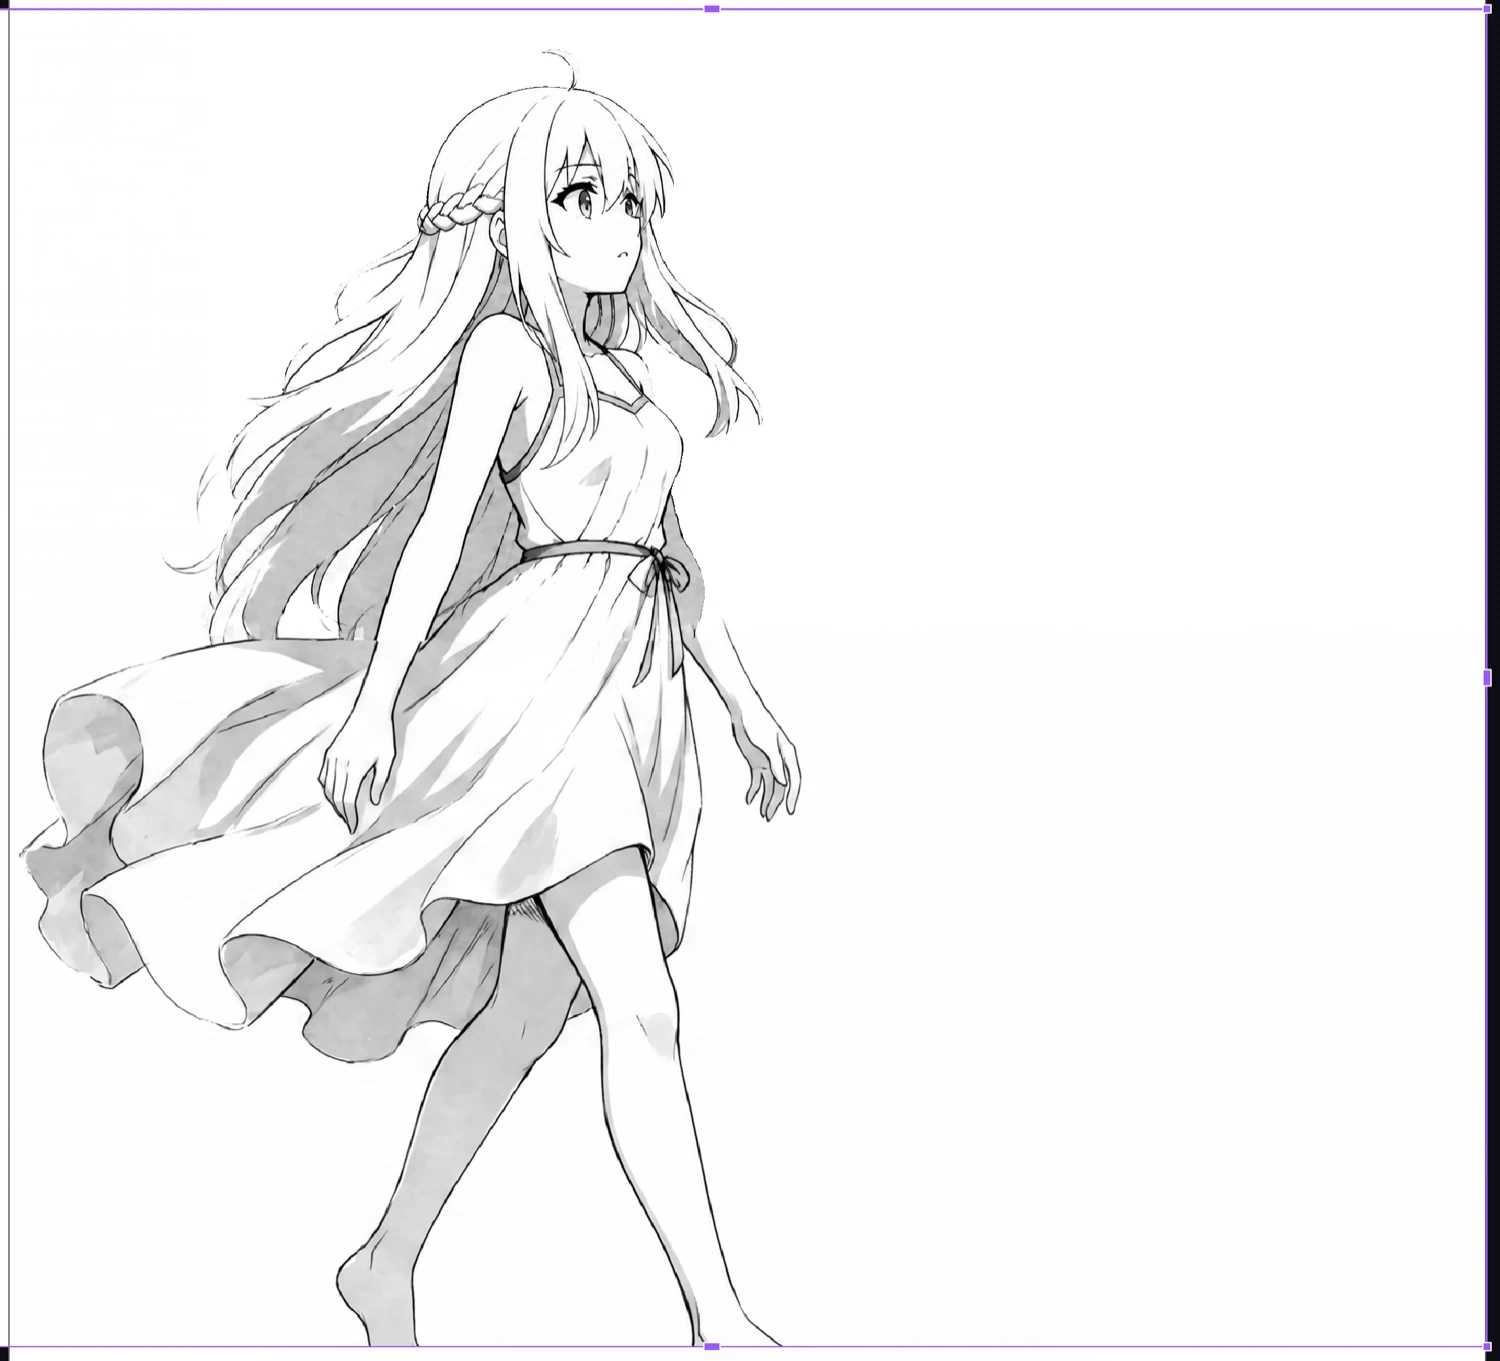
4 · Finished line art Outpaint in color
- Start with a color frame and blank margins.
- Guide placement and pose with a rough sketch.
- Fill every margin to complete the full-color shot.
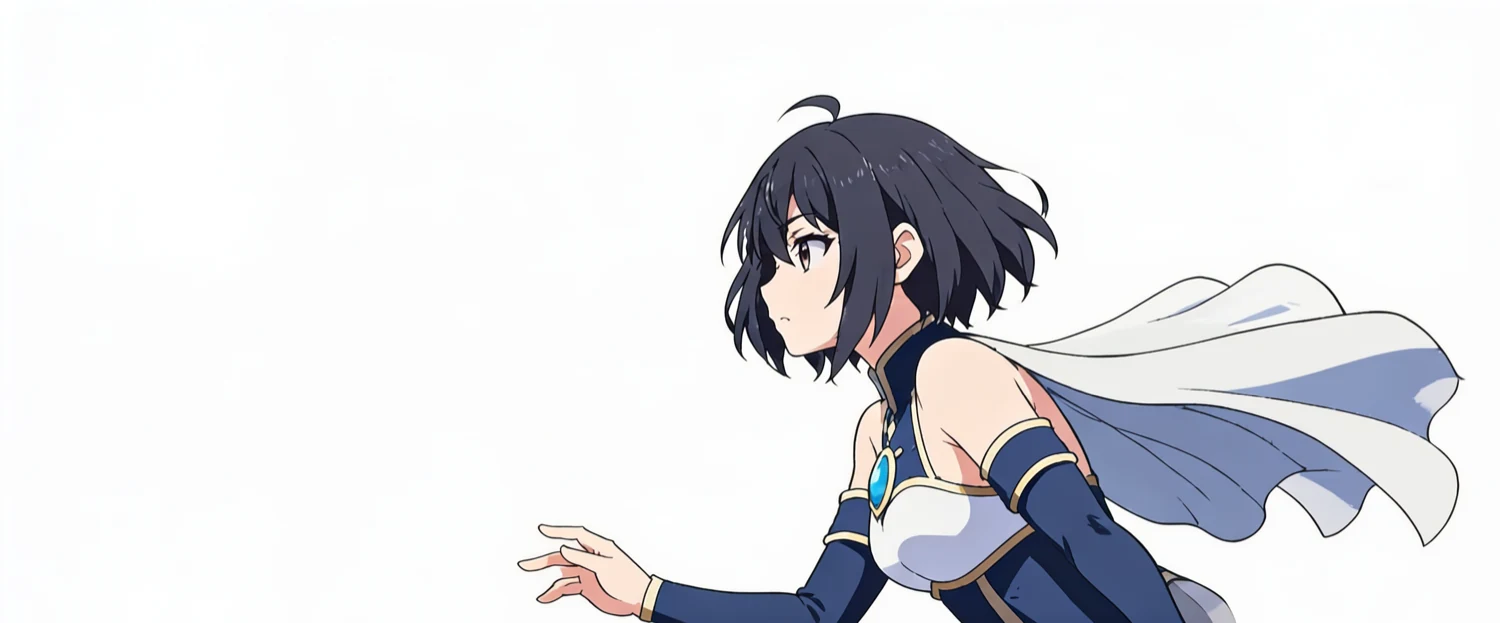
1 · Source frame 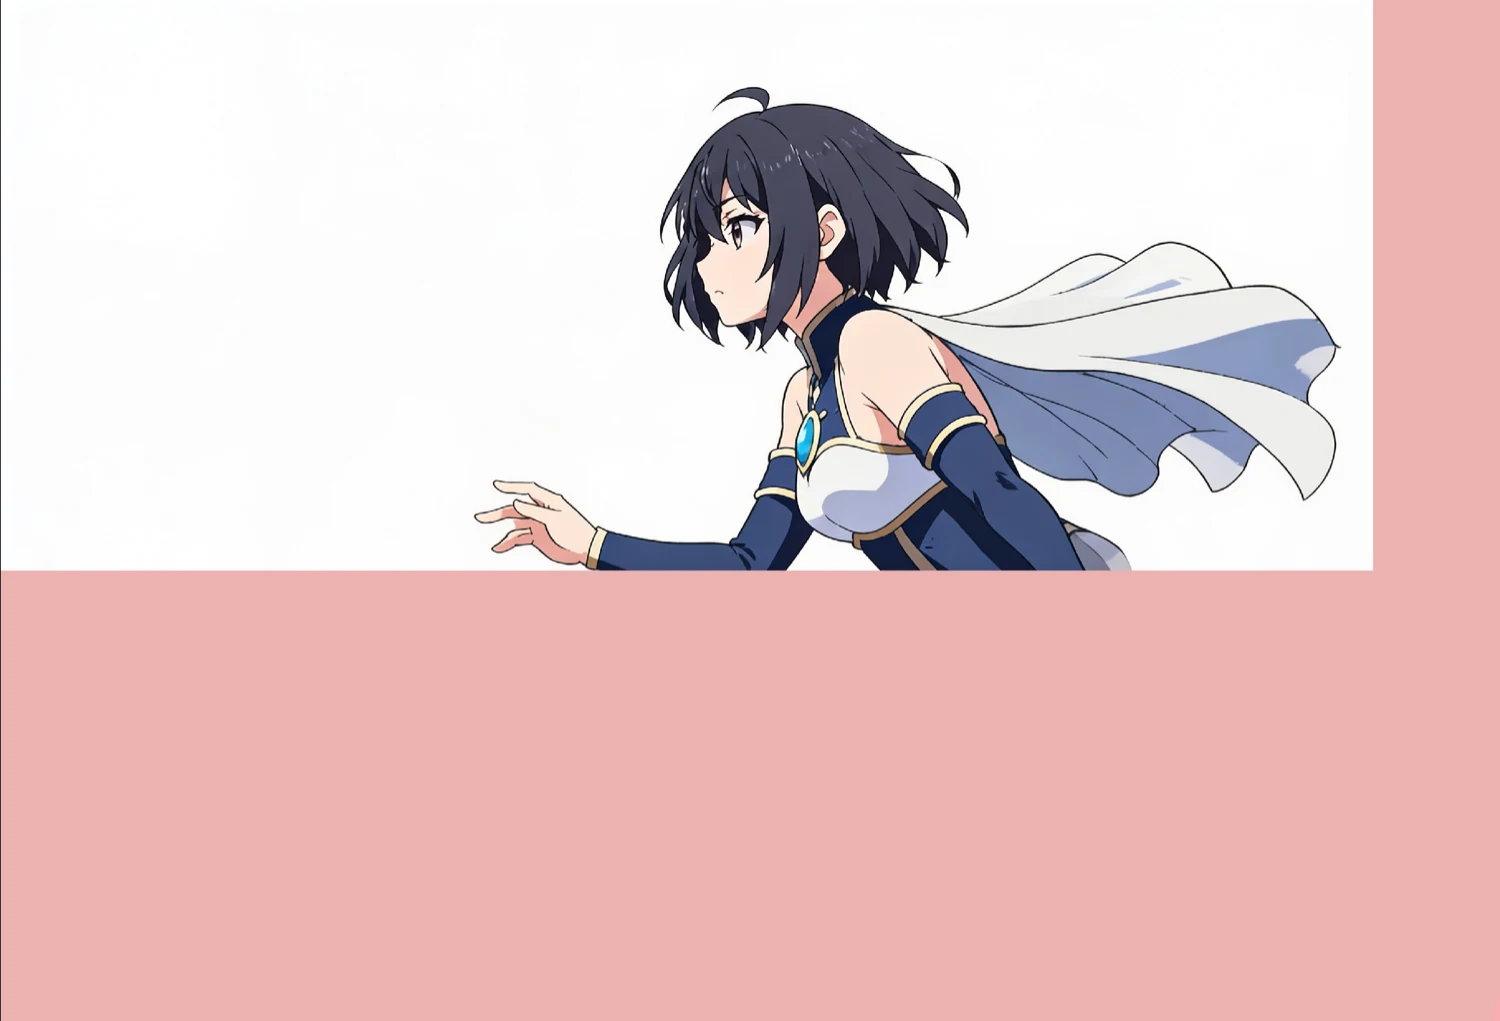
2 · Expand canvas 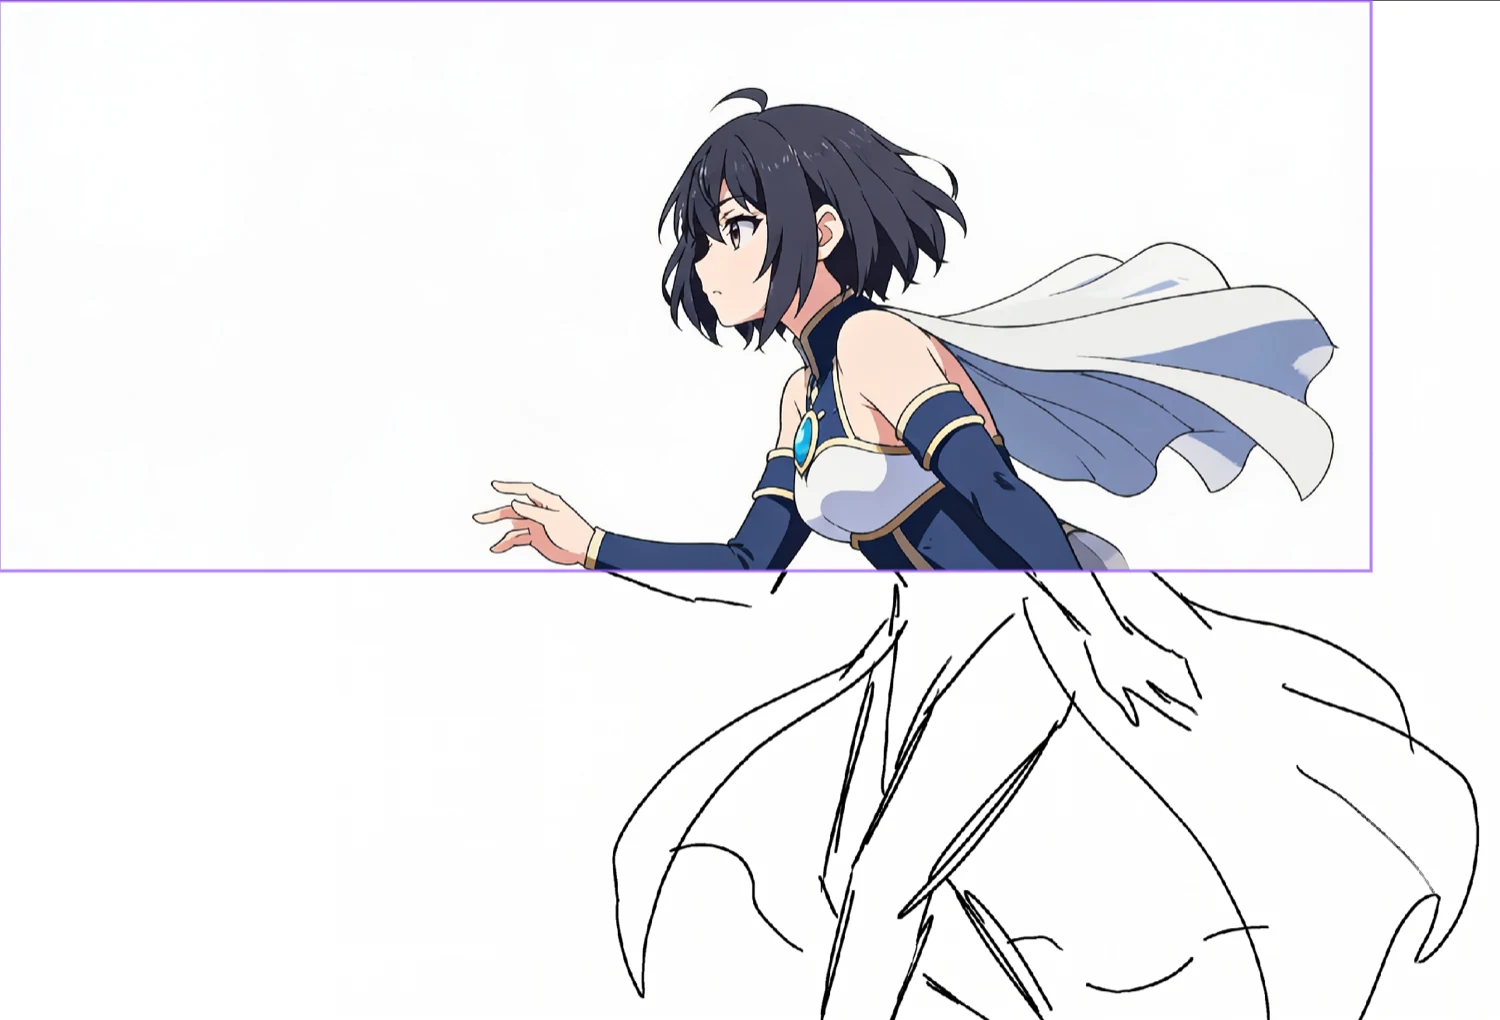
3 · Rough sketch 4 · Finished color Prepare production lines
- Convert finished art to aliased production lines.
- Preserve clean edges for digital coloring.
- Integrate results into existing anime production pipelines.
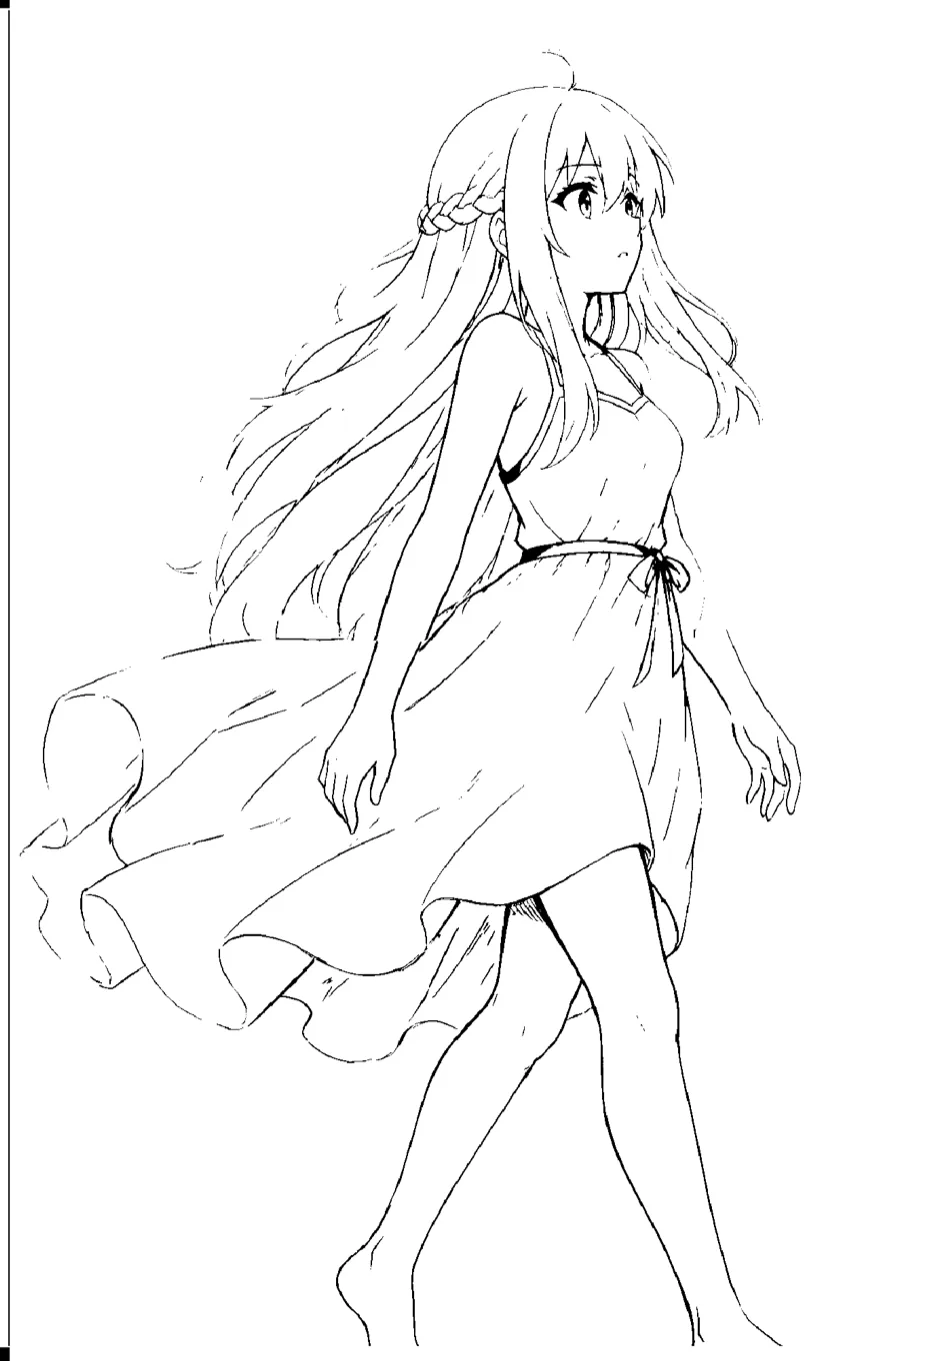
Aliased production lines Color from a reference
- Generate full color from line art.
- Guide style and mood with a single reference.
- Train custom character models and refine colors with rough sketches.
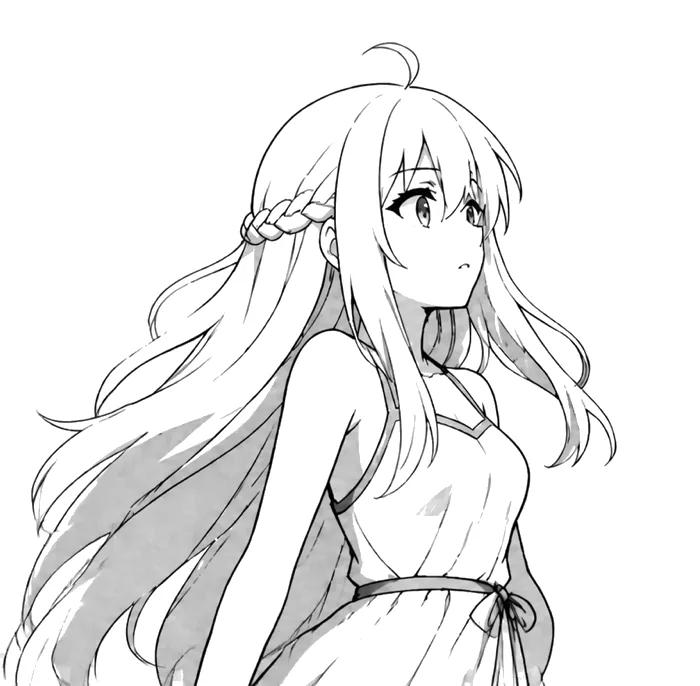
Line art 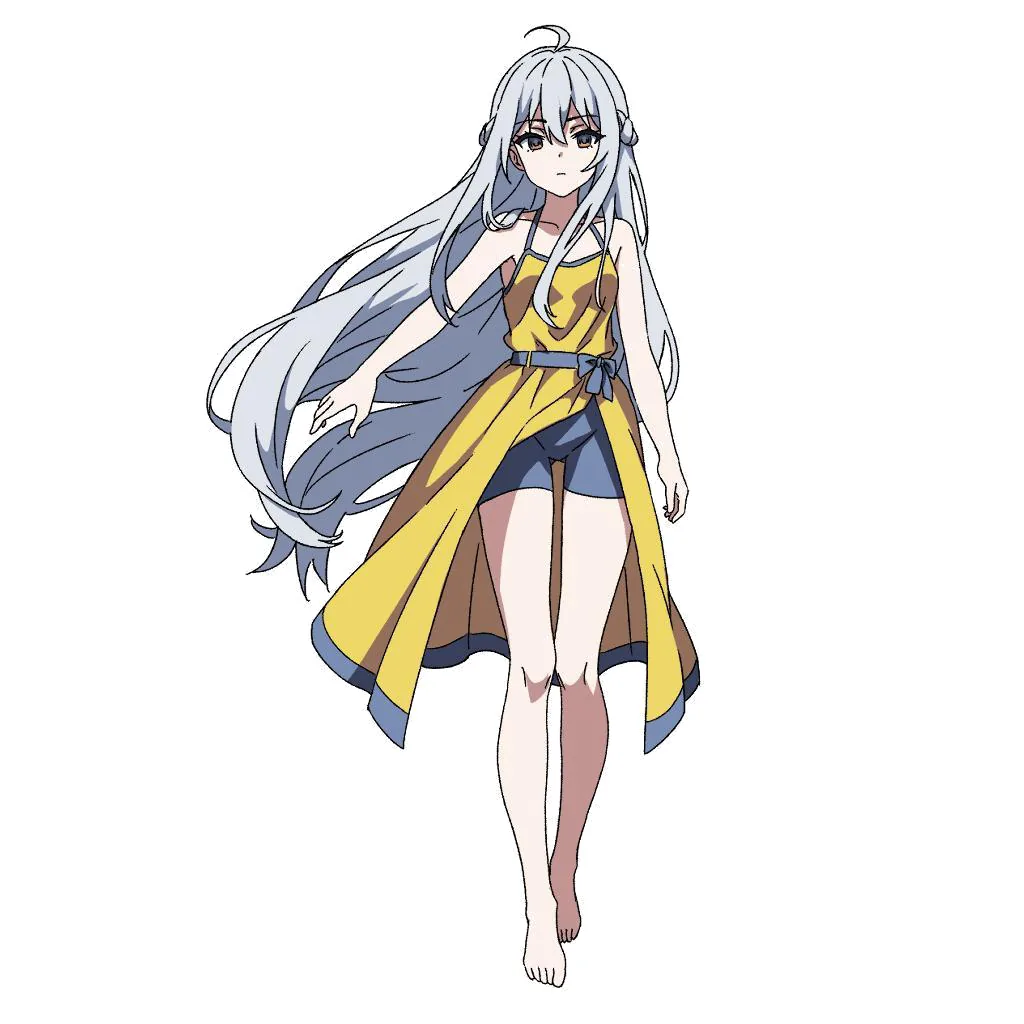
Reference 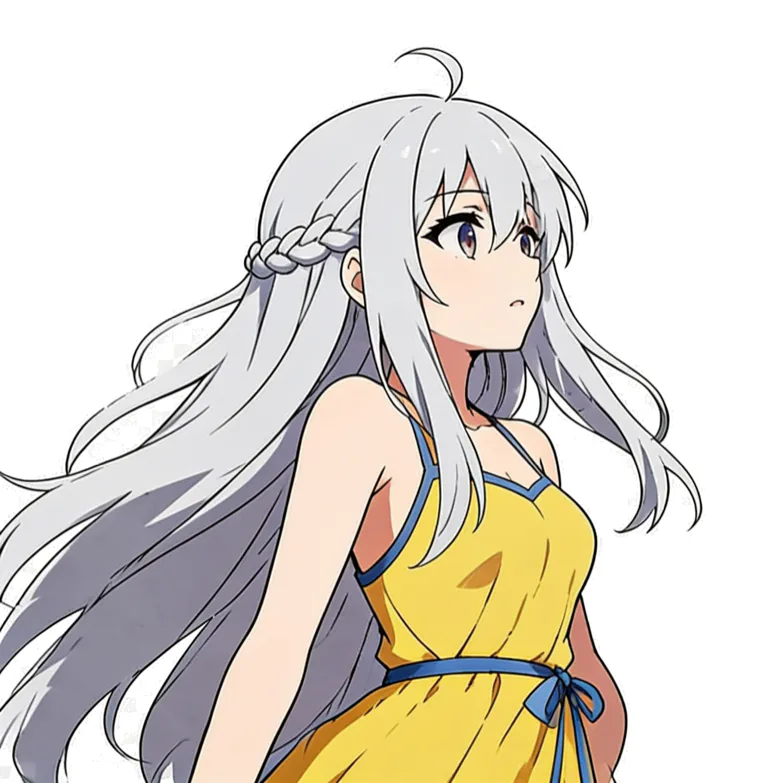
Color result
Build the workflow your studio needs
Use the full sequence or only the steps your team needs. We adapt WonderCanvas to your pipeline and help move your artwork into production.
Discuss your workflow